Painting a Boys Room, Car theme

Creating a little boys room can be fun. You want it to be as energetic as they are, without being too busy and not too boring. You want to create a space for them to enjoy being in and reflects their personality and/or their interests.

In my recent job, this boys room was already painted a grey-blue, nice color.  His mom had bought these car, airplane & bus wall stickers (he loves cars) and she wanted a place for them to be on the wall. Whether a road, or hills, we went through some different options and we decided to have hills go all around the room with the cars driving along.


Boys Room Before
Reading Corner Before

Even though you don't see a road, you can feel these little cars cruising around!


Horizontal Painted Stripes on Wall: How to's

 
I wanted to add visual interest to the basement walls for the kids space, have something that I liked too and would not get sick of. I decided to do horizontal bold stripes in gray & white, since I dont have much furniture yet, it would go with most anything. First you have to determine the width of your stripes. Draw a small elevation. I took the total height, 82" divided by 7, which leaves me with 11 3/4" per a stripe. Also determine which color you want 1st at the floor line and along ceiling line. I chose the white becasue it may hide imperfections if the ceiling was not level, etc..


I used 2 laser levels. One that stuck to the wall with double sided foam tape (only a paint layer came off when I took the laser off), so patch work was needed.
The other I tried was a small tripod laser level that could go around to the walls on right & left but it did miss a large section, so I had to use a yard stick to finish the line.

I found the walls were not level, nor the floor, ceiling etc..so you can drive yourself crazy about it! You have to settle with something. Mine were slightly off but when its all said and done you dont notice one bit!

While the red line is in place I add the painter's tape, about 30" at a time.
I used blue painter's tape on 1 wall and the green frog's tape on the other. Both lines are pretty crisp, I'd say the green is slight more but when I remove the frog's tape layers of paint came with it down to the sheetrock (these are new walls painted 1 week prior) so it may not happen to walls that have been done and painted for a long time.
Don't put the paint on too think, I had no bleeding possibly because I was cautious putting on the paint light, 2 coats were needed.

 
Benjamin Moore 2112-70 American White, 2112-40 Stone
Almost finished room! Will post when room is complete!

Easy Winter Party Favor; Personalized Mug


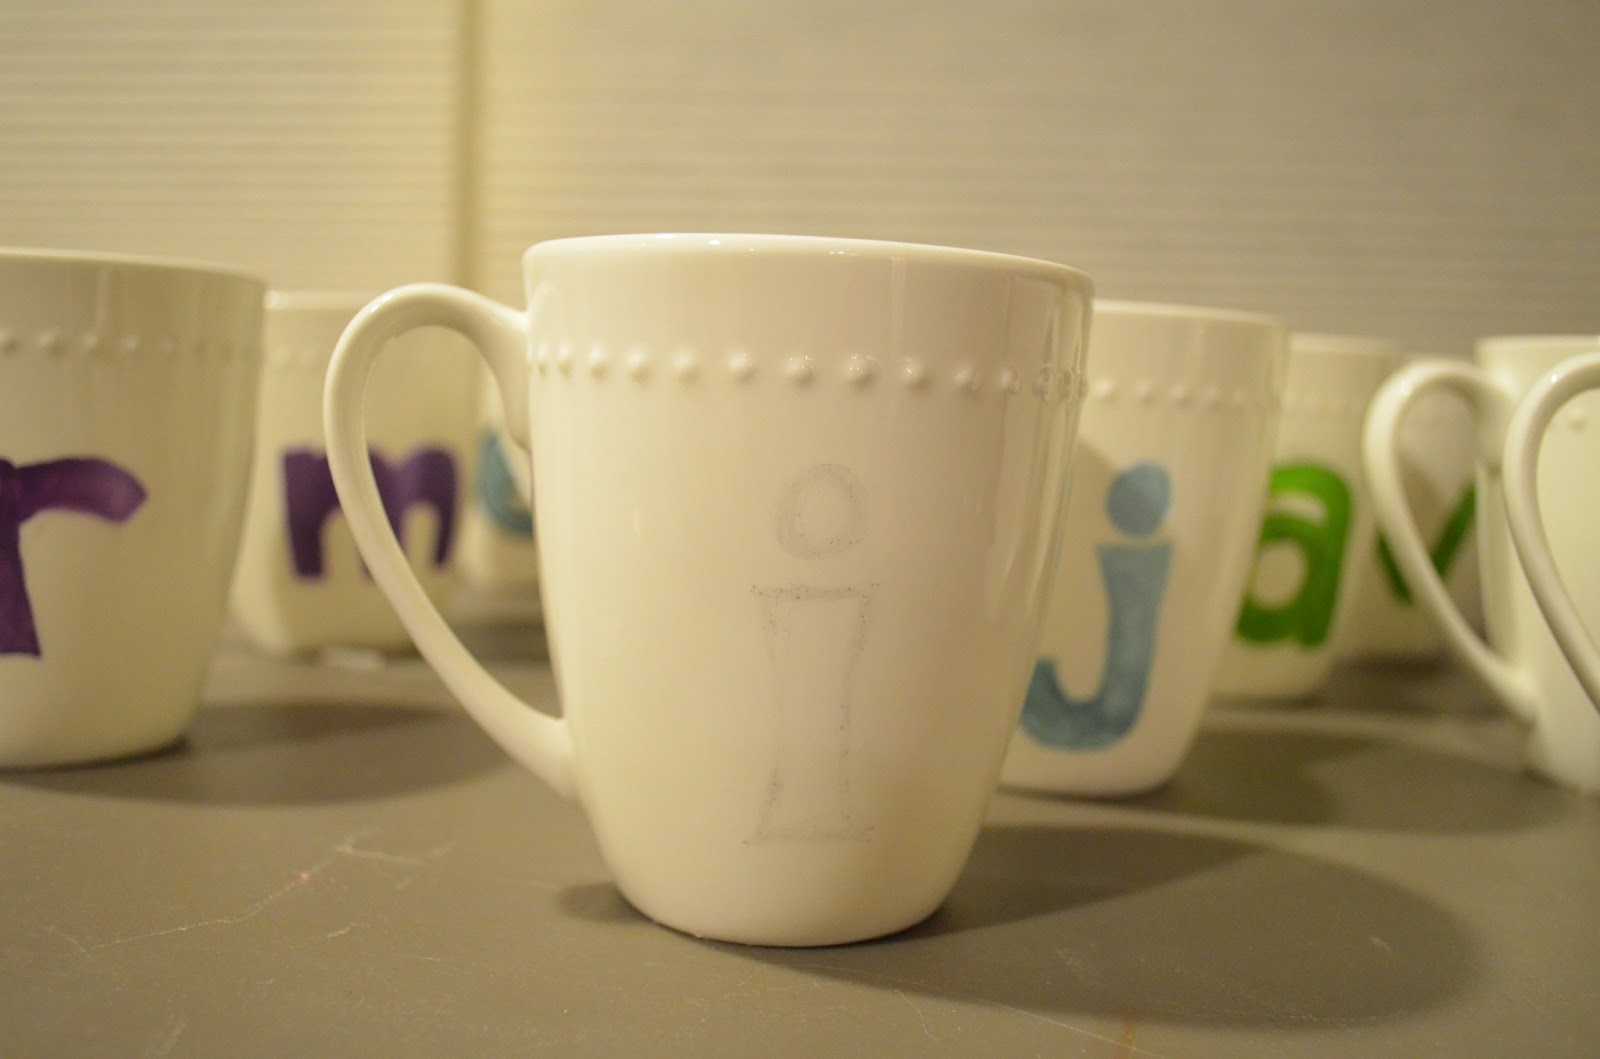
After searching on line for a simple, easy party favor for my daughter's party we found a version of these, mugs you can customize and bake in the oven to make it permanent. I picked up the mugs at Christmas tree shop, $2.99 each.  I decided to make each girls 1st initial. I used Martha Stewart glass paint for the letters, which works great on ceramics too. 


 1st I sketched the letter with pencil, painted it with 3 coats to really get it to be opaque. Wait at least an hour between coats, if you do it too soon the previous coat rubs off with the brush.  Then outlined with a black sharpie. Sharpies can be permanent (not washed off) by baking them too.


To Bake- put mugs in a cool oven, then turn to 350 degrees. Once its at 350, set timer for 30 min. Turn oven off when time is up, but don't take them out till oven is cooled. I left them in over night.


 I bought a large tub of cocoa mix at BJ's, bag of mini marshmallows and happen to have chocolate chips to add to the mix. 


We added simple directions & a blue ribbon..girls were very happy!