My hands are very dry in the winter, and start to crack when its really cold. I'm always reapplying lotion, it doesn't last throughout the day. My skin is also very sensitive so I don't use anything with scents, etc..Most of the lotions are made with chemicals and the all natural ones are expensive. So I researched into making my own. The ingredients are not cheap, but much cheaper than if you bought the products already made. After you make batches it is well worth it!
You just rub it on your hands and they will be greasy for a few minutes, but it'll go away then they will feel soft, even after you wash them. I use it twice a day. This recipe is based from the site The Wellness Mama, she has great recipes & ways to make them. I found this one to be the easiest for me to make.

Hand Made Lotion Bars Ingredients:
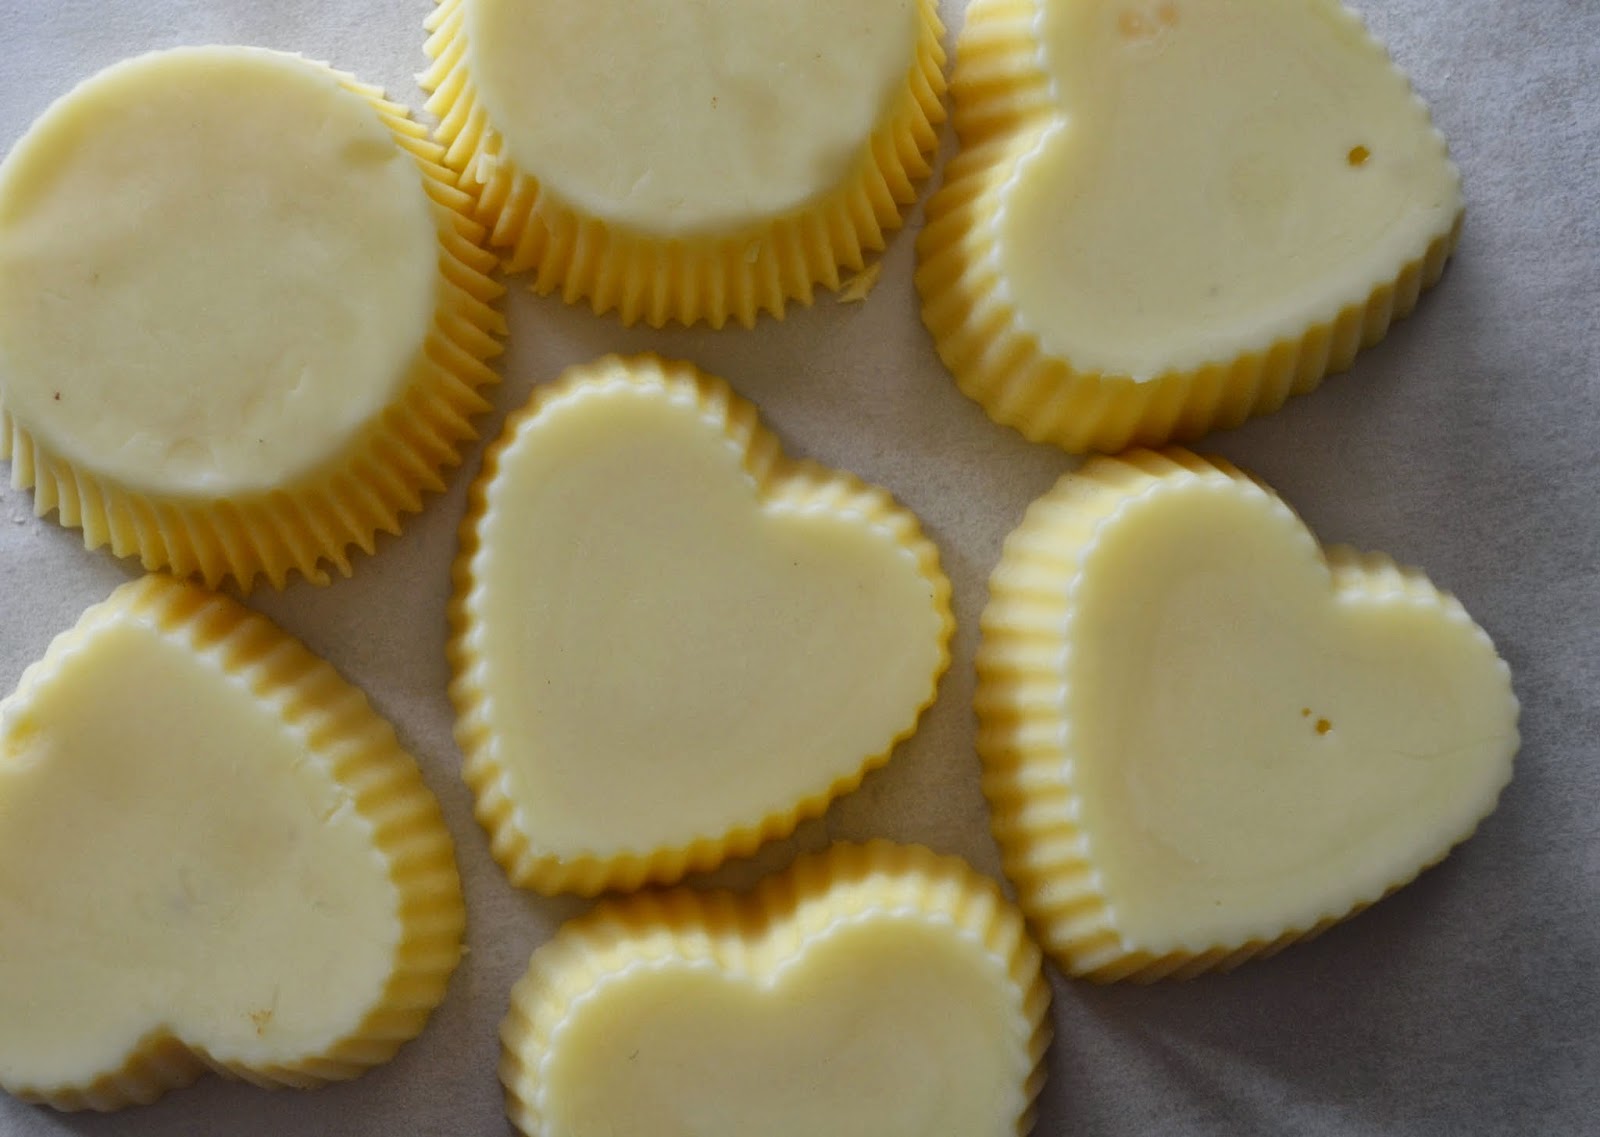
{Equal Parts} I'd start with 1 cup each, will make about 8-10 lotion bars, size shown below
1 Part: 100% Pure Shea Butter (I've switched to unrefined/raw Shea Butter)
1 Part: Beeswax
1 Part: Coconut Oil
If using 1 cup of each ingredient above then:
1 tsp. Vitamin E Oil
30 drops (or more) of Peppermint Essential Oil or you can use lavender, whatever essential oil you like. Peppermint oil is very good for your skin! Read more here.
In a double boiler, add the Shea Butter, Beeswax & Coconut Oil. Place over a pot of water, then turn heat on and stir as it begins to melt. Stir until completely melted.
I bought a double boiler to use just for this, then I don't have to worry about cleaning it after.

When mixture is completely melted take off of heat and stir in tsp. of Vitamin E Oil & 30 drops of Peppermint Oil, this will give it a light scent, add more drops if you like it a little stronger. Carefully pour into molds. My daughter's requested silicone hearts. I also used paper cupcake liners, place in a cupcake tin before pouring. Let sit over night. They will easily come out of the mold. I store them in a small zip lock bag after. I also bought small tins for gifts.


It is cheapest to buy these ingredients on line. I bought my 1st batch at Whole Foods, and spent a little more than I needed. Cost at Whole Foods:
7 oz Pure Shea Butter, $9.99 (2 of these)
14 oz Organic Coconut Oil 7.99 (aprox)
Beeswax, there probably is someone in your town or near by that is a bee keeper, go that route 1st to see if they have any. I found 1 near me who sold it for $10 a pound. You can also buy a block at AC Moore or Micheal's in their candle making area, just make sure its pure beeswax.
.5 oz Vitamin E Oil $5.49
2 oz Peppermint Essential Oil $10.99


